Brian took the reins for this one and a fast and furious evening it was too. If you were familiar with the latest versions of Lightroom (LR) and Photoshop (PS) you most probably went away having learnt a lot, but newcomers would have found it a struggle, as indeed I did in parts. Anyone wanting encouragement to dip their toes in the water may have thought, for now, it would be simpler to set their camera to Mono Mode and take it from there. But that would be a mistake, and I’ll come back to that.
I don’t intend to give a blow-by-blow account of Brian’s talk. I rarely use LR so the software is not very familiar to me, so I will just try and pick out what were the salient points for me. If you wanted to follow up with more information on other issues he discussed, Brian said he was very happy for you to contact him to clarify. He uses plugins extensively in his normal workflow but to keep it simple, made no use of them this evening.
So why not just set your camera to Mono and get on with it. As you know, a colour image comprises three colour Channels, one for the Red, Green and Blue tones it contains. In effect, each of these is a monochrome image which when added together produces the millions of colour variations we are used to seeing. If you capture an image with the camera set to Mono mode, you record only one Channel and, although the file is one third the size, it contains tones of grey only. Converting an RGB image to Greyscale in editing software also reduces it to a single Channel.
However, by Desaturating a colour image to make it black and white, you retain the three RGB Channels and this extra information is still available. It means that you can change how much each colour Channel contributes to the mono image and see whether you can improve on its tonal balance by juggling them.
There are tools in LR, PS and Camera RAW that let you do this. It can be done in the Channel Mixer, or with colour sliders that you shift around until you get what you like. In some cases, there are sliders for more colours than Red, Green and Blue. A simple way to do this in PS is to add a Black and White Adjustment Layer – see below for how to do this. In addition to Reds, Greens and Blues, you will also have sliders for Yellows, Cyans and Magentas. For example, if you increase the Greens, anything green in the image will lighten in tone.
To juggle the Channels in LR, click on B&W at the top of the Basics panel, then in the B&W panel you will find 8 colour sliders you can play about with. All this just gives you a starting point for further editing. Brian’s main message was that there are many quick and easy ways to get to a starting point for your image – this is just one of them. LR has lots of built-in Profiles and Presets plus hundreds of free ones online that help you get the kind of ‘look’ that appeals to you and which you can then refine with your own editing.
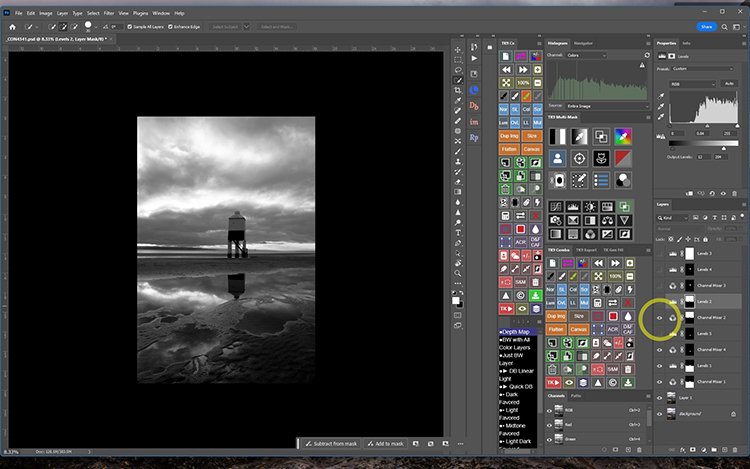
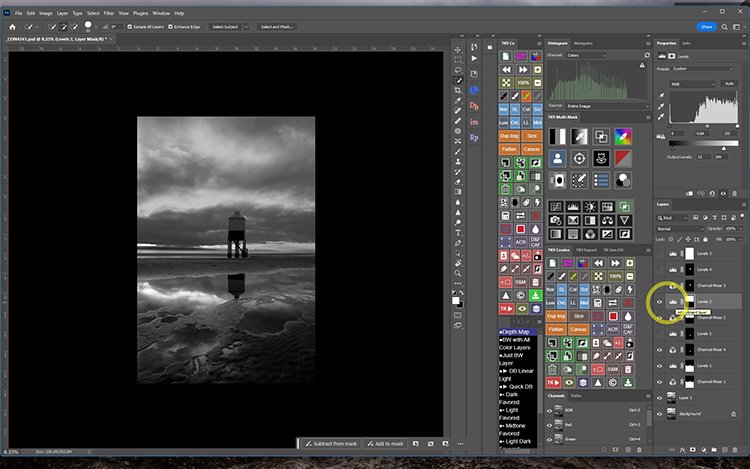
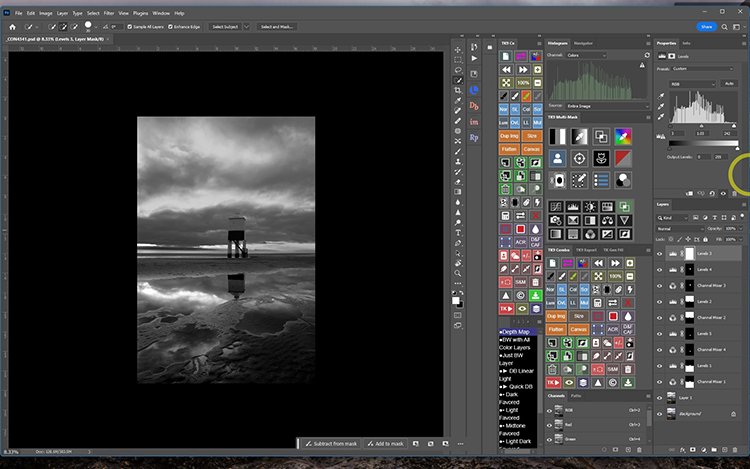
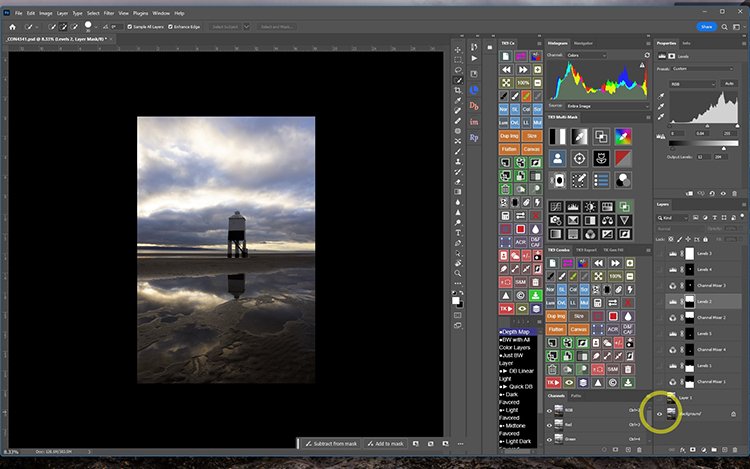
Brian encouraged us to make local tonal adjustments using the method in PS described by Colin Jarvis in his recent talk ‘Mono Moods’. Colin first makes a selection of the part of the image he wants to adjust using a soft-edged Marquee tool. Then he opens a new Adjustment Layer by clicking the appropriate icon at the bottom of the Layers palette (Black/White filled circle). This opens a menu of the types of Adjustment Layers available – Levels, Curves, Colour balance, Vibrance etc. Brian chose Levels for this demonstration. Click OK, and the new Adjustment Layer opens with the selected area masked. Then by moving the three sliders for white, black and mid-point underneath the Levels histogram, the contrast and clipping points can be adjusted in the selected area only. Brian showed an image with a stack of Levels Adjustment Layers each with a masked selection allowing him to make tonal adjustment to each selection independently.
Brian made the point that in PS, it’s best practice to avoid making changes to the Background image (non-destructive editing); you can always go back and alter or delete an Adjustment Layer provided you saved the image as a PSD or TIFF file. Any adjustments made to the Background are also saved so you can’t go back on them (destructive editing).
Adjustment Layers take up very little extra file space. This method is as close as PS gets to the non-destructive editing feature of LR where any changes do not alter your original file as captured.
[There is no Dodge/Burn Adjustment Layer available in PS, but there is a method of applying these adjustments on a Layer making them non-destructive. Contact me if you want to know how to do it.]
Of course, any selection tool can be used to create the mask. The latest versions of PS and LR now use AI to automatically select a subject in the image pretty much at the click of the mouse. Brian tried selecting the same subject in PS then in LR to compare them. Clearly, the two programs use different criteria to pick out what they think you are trying to select. In this instance, PS seemed a bit more intuitive in making its choice but with another image, who knows? An interesting exercise and in any case, all that time-consuming fiddling around tracing outlines with a marquee tool is now safely consigned to history.
I’m sorry I couldn’t do justice to the breadth of coverage of Brian’s presentation, but hope I have left you with pointers as to how to achieve some of them. I certainly learnt things that will improve the way I go about some editing tasks and I’m sure others did too. Hopefully, any beginners watching were not put off by the endless bewildering possibilities available with modern editing software. You probably need ways to limit your choices, not expand them to the point where you have no idea which way to go. So, I’ll finish by saying that actually monochrome is not that difficult. Just keep it simple and, as the Greeks say, do it a bit at a time.
Thank you Brian for an action packed evening.
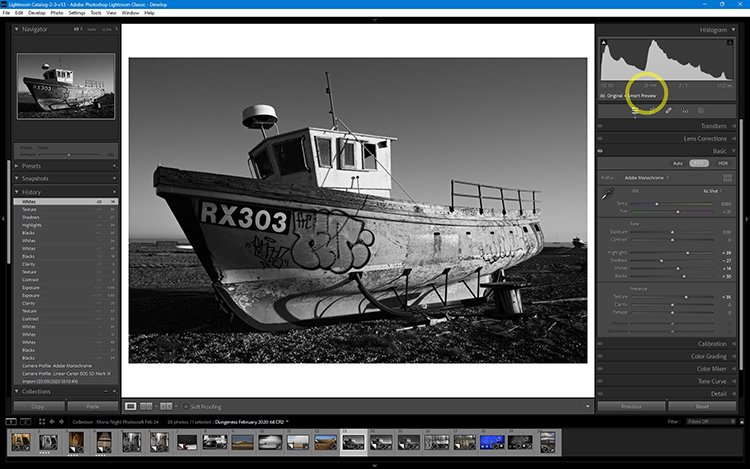
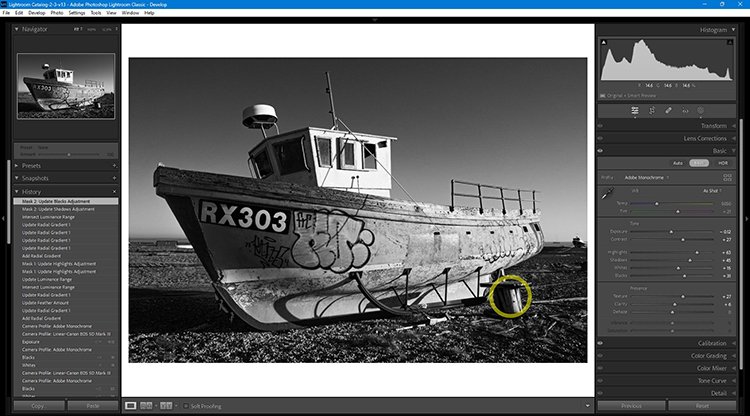
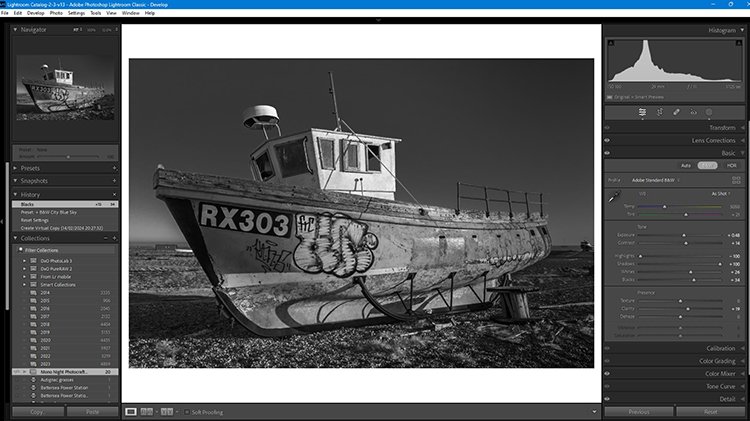
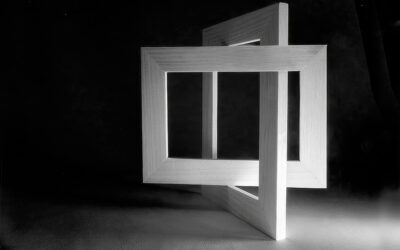
Brian has kindly provided some pictures to illustrate procedures he demonstrated. The first three in Lightroom are different edits of the same image; one by just using Adobe Monochrome profile and a few global edits; the next by using the same profile and edits but adding specific filters to adjust individual areas and the third by using a Lightroom pre-set
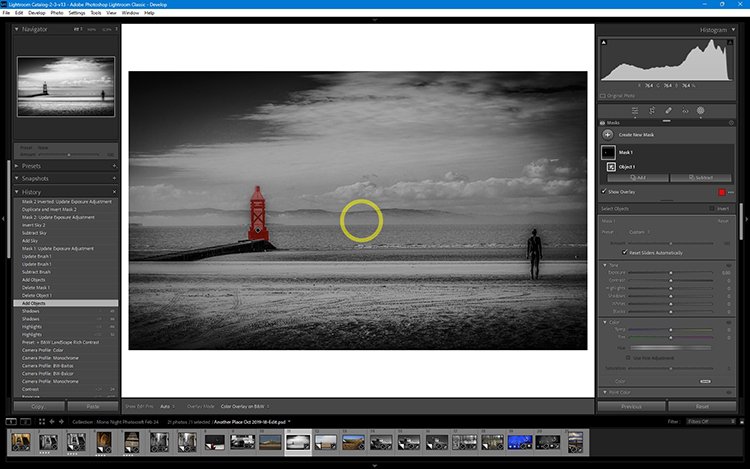
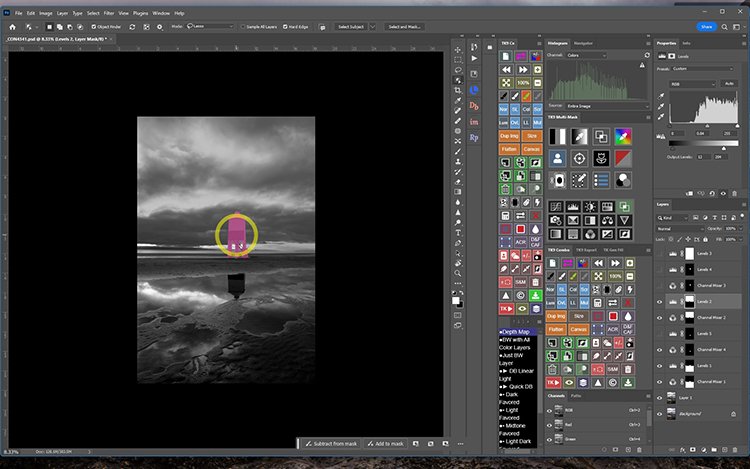
Lightroom needs a brush to select and so always seems to bring in more than required, thus meaning further refinement to get the exact selection. PS has as far superior object selection and on most occasions, gets exactly what you want first time. Of course, nothing is 100% right, 100% of the time but PS is getting better.


0 Comments